Table of Contents
Installing OMV5 on i386 (32-bit) PC's & Alt 64 bit install
| Note | |
| OMV5.X is an EOL (End of Life) legacy release that is no longer supported or maintained. The current and supported version of Openmediavault is 6.X . | |
This document can be converted to a PDF file, in the user's language of choice (see the following), on Windows, Mac's and popular Linux desktop platforms. Simply select the printer icon on the upper right corner of this web page. When prompted at the client, select “print to PDF”, name and save the file.
Google Translate kann Wiki-Dokumente in Ihre Sprache übersetzen. Fügen Sie die Wiki-URL in das linke Fenster ein und öffnen Sie den übersetzten Link rechts.
Google Translate puede traducir documentos wiki a su idioma. Pegue la URL de la wiki en la ventana izquierda y abra el enlace traducido a la derecha.
Google Translate peut traduire des documents wiki dans votre langue. Collez l'url du wiki dans la fenêtre de gauche et ouvrez le lien traduit sur la droite.
Google翻訳はwikiドキュメントをあなたの言語に翻訳することができます。 左側のウィンドウにwikiのURLを貼り付け、右側の翻訳されたリンクを開きます。
Introduction
- In consideration of Debian's continued support of i386 - 32-bit platforms, support for the installation of Openmediavault on 32-bit Debian is available as a two part process. After Debian is installed, Openmediavault (hereafter referred to as OMV) is installed by script.
- This process may also be used as an alternate install method, for 64 bit platforms, in the event that the standard OMV ISO installation fails. Note the 64-bit download instructions in the i386 Download section.
About this Guide
The purpose and intent of this guide is to provide a walk-through for the i386 build process, to get i386 - 32-bit users up and running as quickly and as easily as possible. On fairly rare occasions, the integrated OMV ISO installer will not work with some 64 bit motherboards and hardware. The OMV installation method described in this guide will work with 64 bit motherboards as well, if the single change under Alternate 64-bit installation is noted and observed.
Considerations for i386 (32-bit) builds are very similar to amd64 (64-bit) builds. As a supplement to the Getting Started with Openmediavault 5 User Guide which geared toward 64-bit platforms, users may benefit by reviewing preliminary information and notes in the larger guide, prior to the actual installation process.
This guide assumes that users have a working Windows Client for installing and executing utilities. It is also assumed that Mac and Linux desktop users will be able to find, install, and use utilities equivalent to those called out in Prerequisites.
- This is a community document and a work in progress. Input and feedback are welcome and can be sent to: omvguide@gmail.com
Hardware Suggestions
OMV/Debian will run on i386 32-bit platforms, with 1GB of ram or even less. Hardware in this category will work well as a basic NAS server for home use, but performance expectations should be adjusted accordingly.
While not essential, more than 1GB of ram would be helpful. For file caching, in support of normal file system operations, performance is better with more RAM.
A gigabit Ethernet adapter would be preferred, to better support concurrent LAN users and streaming video content. 100Mbs will work, but a gigabit Ethernet adapter may produce better overall results.
Prerequisites
This installation process requires a wired Ethernet connection and Internet access. To get started, a few utilities are needed.
PuTTY is an SSH client that will allow users to connect to their SBC, from a Windows client, and get on the command line. PuTTY is Windows installable.
7-Zip is a free file compression utility that will expand *.zip file archives. 7-Zip is Windows installable.
When Installing to a USB Thumbdrive
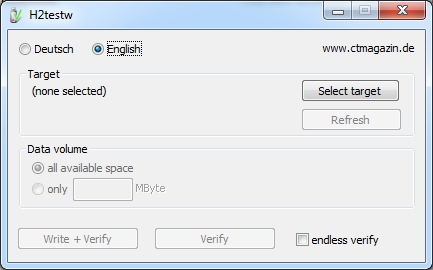
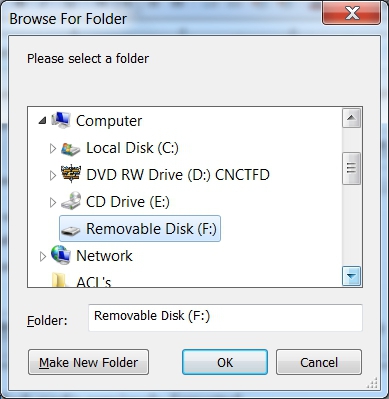
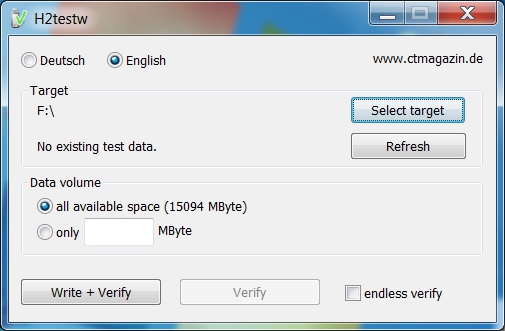
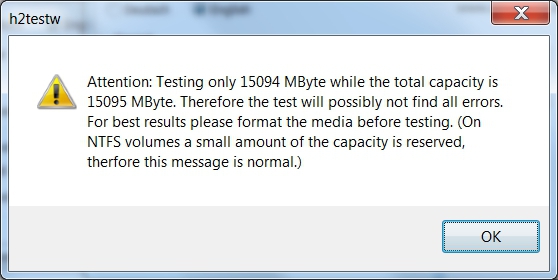
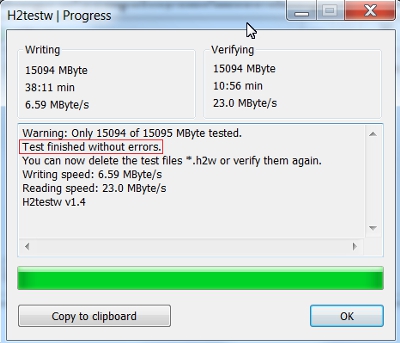
- h2testw_1.4 is a flash media test program. With a freshly formatted USB thumbdrive, h2testw_1.4 writes files with known content and verifies that content in a read operation, detecting errors in the process.
h2testw_1.4 downloads as a zip file. By right clicking on the zip file, and using “Extract All”, 7-Zip will expand the zip file to a folder named h2testw_1.4 The executable inside this folder is a portable application. Simply run the executable. (If needed 7-Zip is available → here.)
- SD Formatter is a utility for formatting flash media, that does a “TRIM” operation which cleans up remnants of deleted or previously existing files. While designed for SD-cards, it works with USB Thumbdrives as well.
i386 Download
Go to the Debian Buster download page, find the list under netinst CD image and download the I386 version of Debian 10, Buster.
*Alternate 64-bit installation*
If doing an alternate 64-bit installation, download and use the amd64 version of Debian Buster. Other than this one change, the following installation process will apply.
Installation Media
This guide assumes that the downloaded ISO will be burned to a CD or DVD. If using a USB thumbdrive as a software source, help with creating a bootable USB thumbdrive ISO can be found here: Burn an ISO file to a USB drive.
Choosing a Boot Drive
This subject is covered in the OMV5 guide, in the section titled; Selecting a Boot Drive. *If the decision is made to boot from a USB thumbdrive; pre-test the drive as shown, in the following, before use. Otherwise skip down to → Installation.*
Format and Test Flash Media
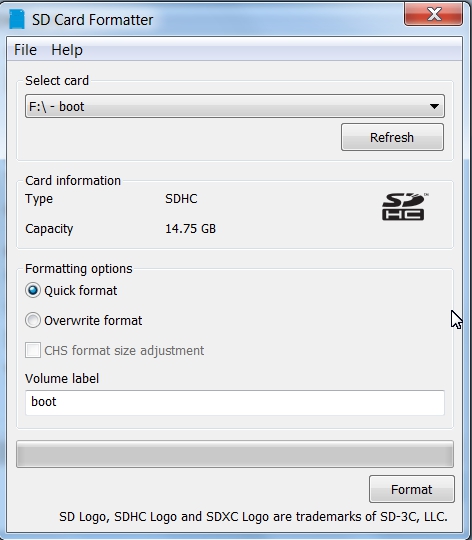
Using SDFormatter, do a clean format on the new USB Thumbdrive:
(Note that SDFormatter does a trim operation on the drive which cleans up remnants of deleted or previously existing files.)
In most cases, SDFormatter will detect the thumb-drive. A volume label is not necessary, at this point, and the default options are fine.
Installation
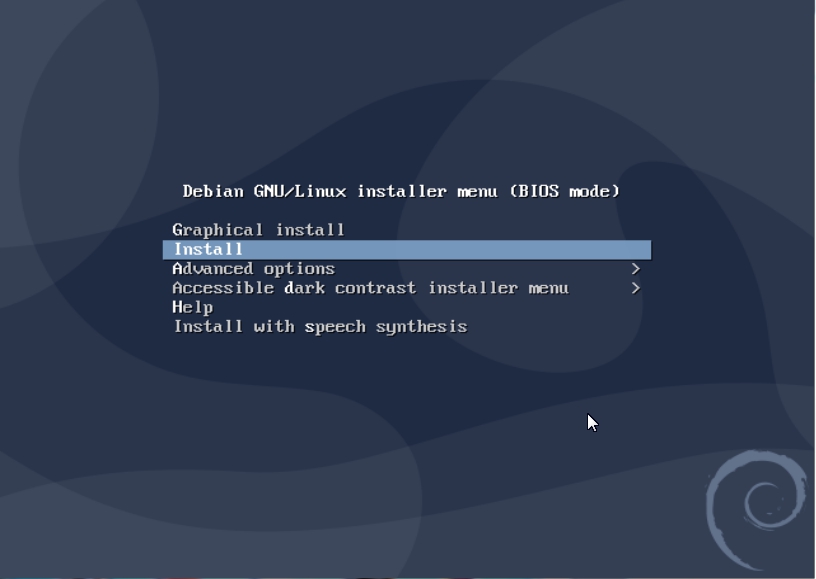
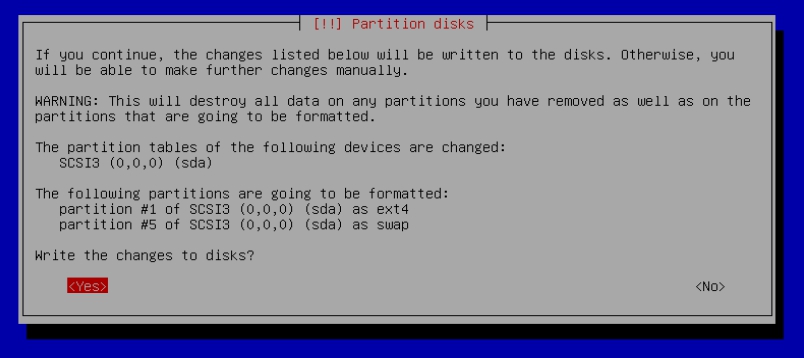
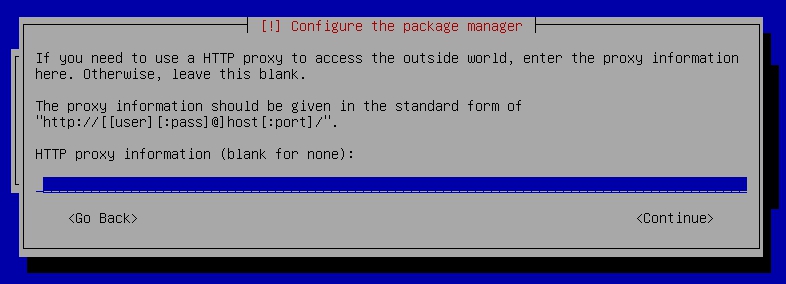
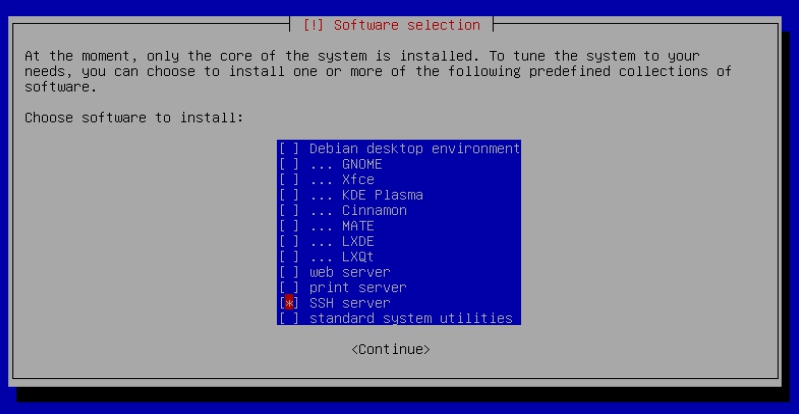
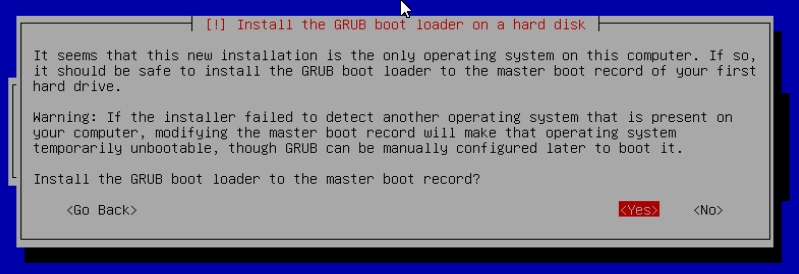
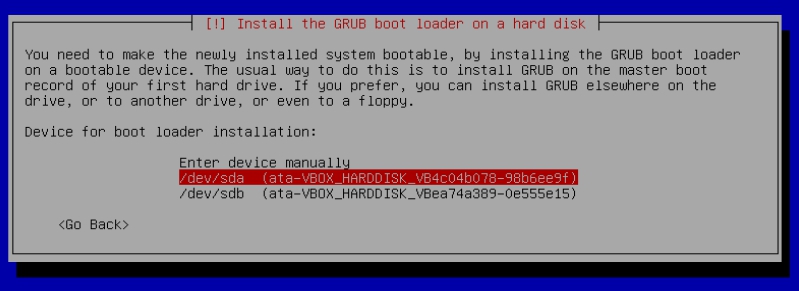
Boot up using the installation ISO.
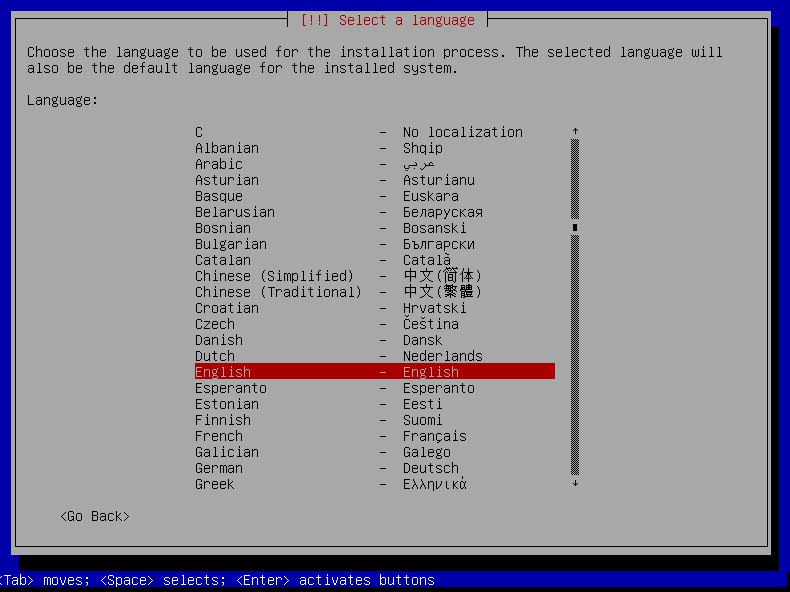
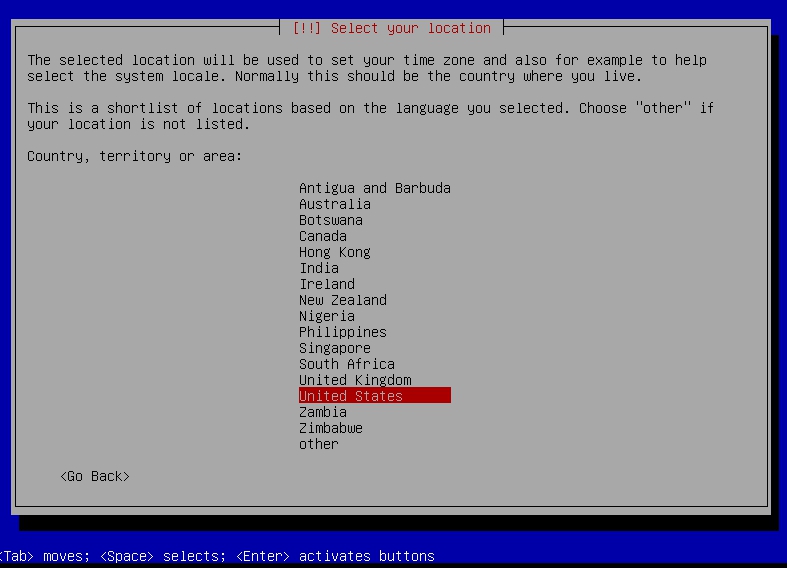
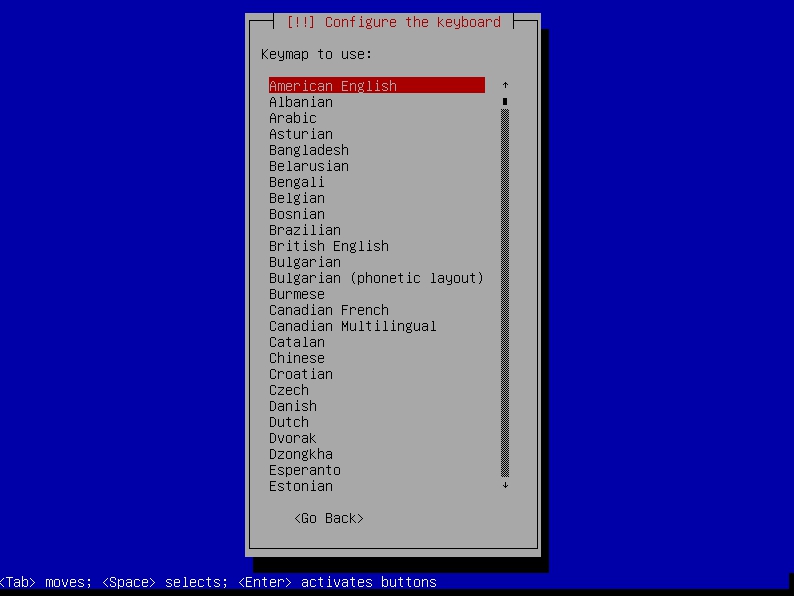
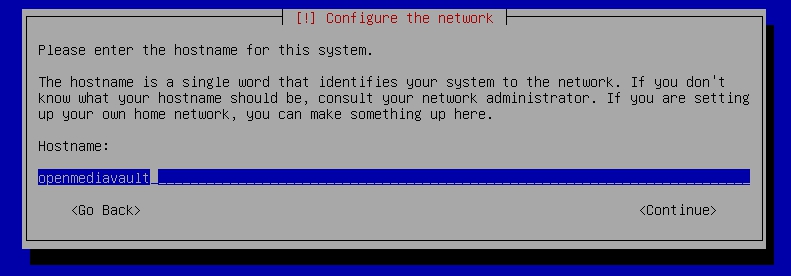
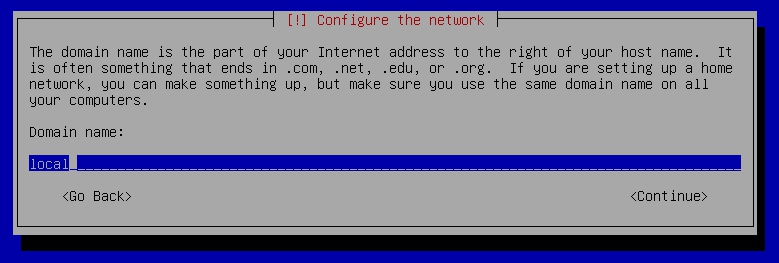
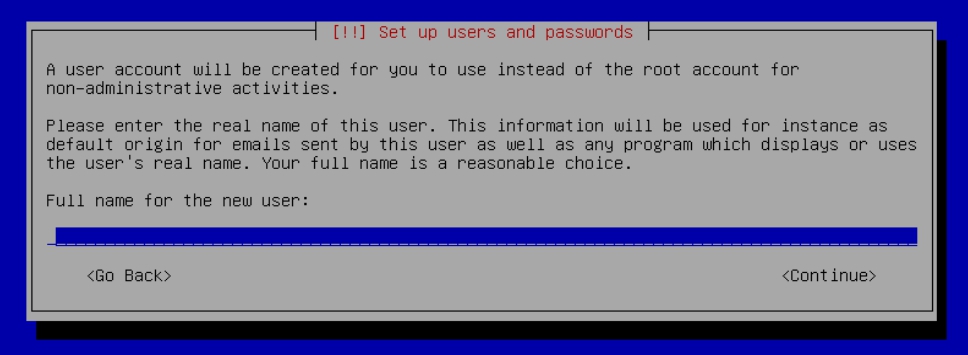
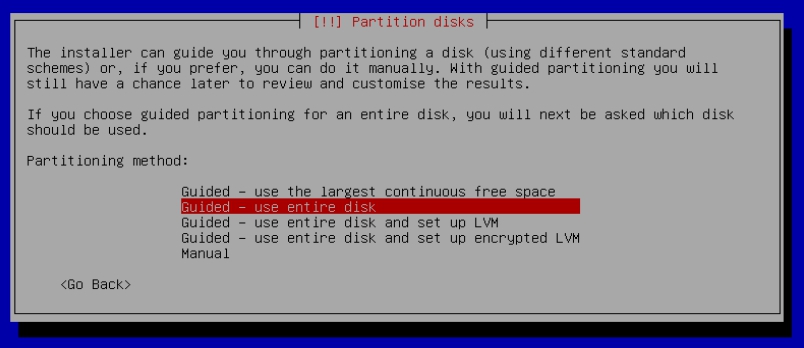
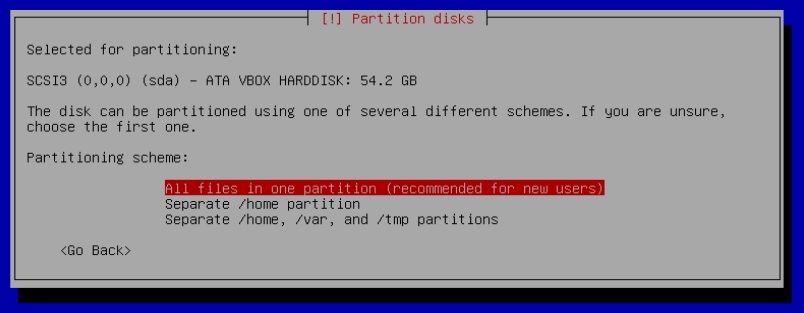
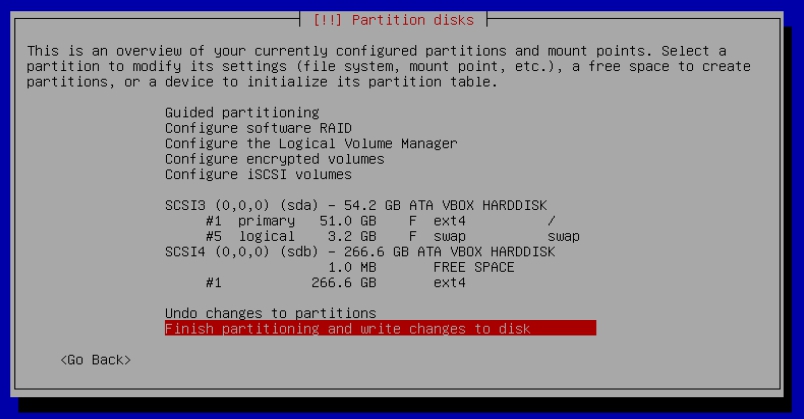
The first screen offers a choice of installers. While both are roughly the same, for illustration, the standard (text) install is much clearer.
First Boot
Allow the installation to boot.
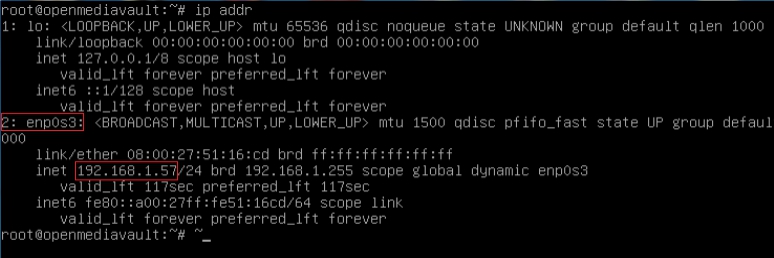
Log into the console as root and type ip addr on the command line.
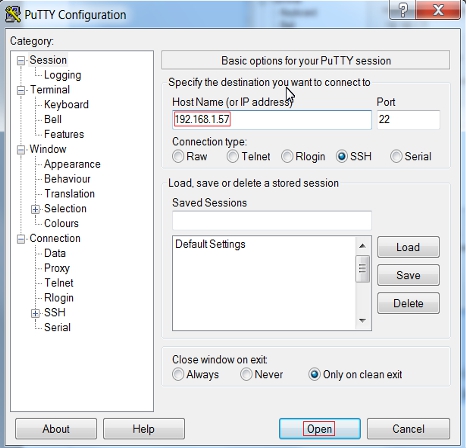
Note the address in this case - 192.168.1.57
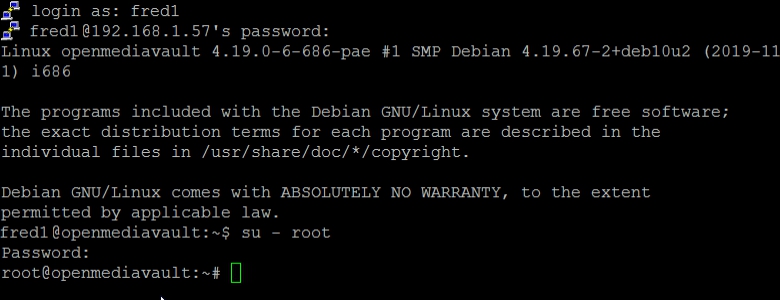
First Time SSH Logon
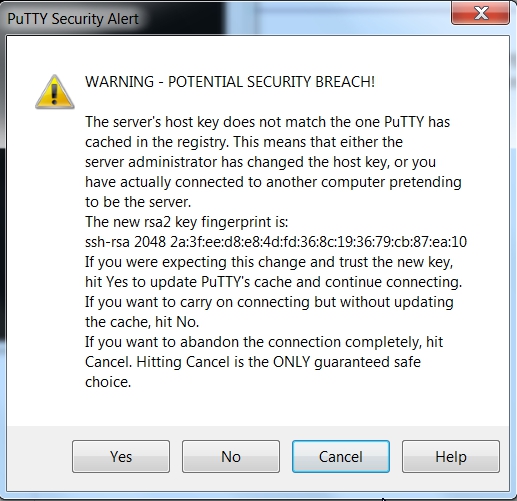
- Log into the SSH connection with the Admin user account and password, set during the Debian install.
- To get root access to the installation, type the command
su – root<enter>. Type in the root password when prompted.
Preliminary Prep for OMV
(*Note: “Paste” is supported by PuTTY, with a right mouse click.*)
Copy (highlight and Ctrl+C) and paste (right mouse click) the following into the SSH window. Hit Enter.
apt-get install wget sudo -y
Install OMV
Installing OMV on i386 platforms is very easy, thanks to Arron Murray (ryecoaaron on the OMV Forum) for providing a comprehensive installation script that's executed from a single line.
Copy the following line complete (Ctrl+C) and paste it into PuTTY's SSH window, with a right mouse click. Then hit Enter.
wget -O - https://github.com/OpenMediaVault-Plugin-Developers/installScript/raw/master/install | sudo bash
Once the script is running, click out of the SSH window so the script will not be interrupted.
* Note: Do Not close PuTTY – that will terminate the root session. Minimizing PuTTY is OK, but it must be running. *
Depending on several factors, running this script may take up to 30 minutes.
When the script is complete, the PC will automatically reboot.
*32-bit Limitations*
Users should be aware that packages, plugins and other options that are available for 64-bit platforms may not be available or work on 32-bit platforms.
Further, certain types of dockers and other types of virtualization may not install or work on 32-bit platforms. (As a practical example, the Portainer Docker will not install on i386 platforms.)
First Time GUI Logon
After 3 to 5 minutes, OMV can be logged into using the same IP address that was used for the SSH client, entered in a web browser address bar.
The web GUI user is admin and the default password is openmediavault
With OMV installed and logged in, new users can continue to configure their servers, using the OMV5 guide. With the installation process complete, users should begin with the section titled → Initial Configuration.
Donate
Openmediavault on 32bit PC's is the project of OMVextras.org In addition to enabling the installation of OMV on 32bit PC's and Single Board Computers, OMV-extras.org develops plugin's for OMV that make Dockers and other server extensions possible.
Please consider a small donation to offset the Developer's costs of hosting this site and to support continuing development. Small donations are appreciated.
